Tile Removal Techniques for Commercial and Residential Environments
Tiles are commonly used in both industrial and residential environments due to their durability, versatility, and aesthetic appeal. However, when it comes time to replace or remodel, the task of removing existing tiles can be daunting. Whether you're renovating a commercial space or upgrading your home, having a clear understanding of effective tile removal techniques is essential. Whether you're renovating a commercial space or upgrading your home, having a clear understanding of effective tile removal techniques is essential.
Preparation:
Before embarking on the tile removal process, thorough preparation is crucial. Start by clearing the workspace of any furniture, fixtures, or obstacles that may hinder your progress. This will create a safe and accessible area for the tile removal task. Additionally, gather the necessary safety gear, such as gloves, safety goggles, and a dust mask, to protect yourself from potential hazards like flying debris and dust particles.
Assessing the Tile Type:
Different
types of tiles require different removal techniques. It's essential to
determine the tile type you are dealing with, as it will influence the
approach you take. Common tile types include ceramic, porcelain, stone,
and vinyl. Each type has its own characteristics and challenges.
Ceramic and porcelain tiles are typically more brittle and prone to
breaking. Therefore, extra care must be taken during their removal to
avoid creating excessive debris and dust. Stone tiles, on the other
hand, are often more sturdy and may require more effort to remove due to
their robust nature. Vinyl tiles are generally easier to remove as they
are often designed to be peel-and-stick or laid over a separate
subfloor.
Tools and Equipment:
Equipping yourself with the right tools and equipment is essential for a successful tile removal process. Here are some essential tools you may need:
a. Chisel and Hammer:
These tools are
ideal for removing small sections of tiles and breaking them apart. Use
the chisel at a 45-degree angle and gently tap it with the hammer to
loosen the tile. Gradually increase the force until the tile breaks
free. Repeat this process until all tiles in the targeted area have been
removed.
b. Electric Jackhammer:
In
industrial environments or large-scale tile removal projects, using an
electric jackhammer can significantly speed up the process. An electric
jackhammer is designed to break through hard surfaces, making it an
efficient tool for removing tiles quickly and effectively.
c. Pry Bar: A pry bar is an invaluable tool for loosening and removing tiles that are firmly attached to the surface. It allows you to exert leverage and apply controlled force to dislodge the tiles without damaging the underlying surface.
d. Scraper: After the tiles have been removed, there may be residual adhesive or grout on the surface. Use a scraper or a grout removal tool to scrape away the remaining grout, taking care not to damage the underlying surface. This step is crucial for preparing the surface for new flooring or other treatments.
Tile Removal Techniques:
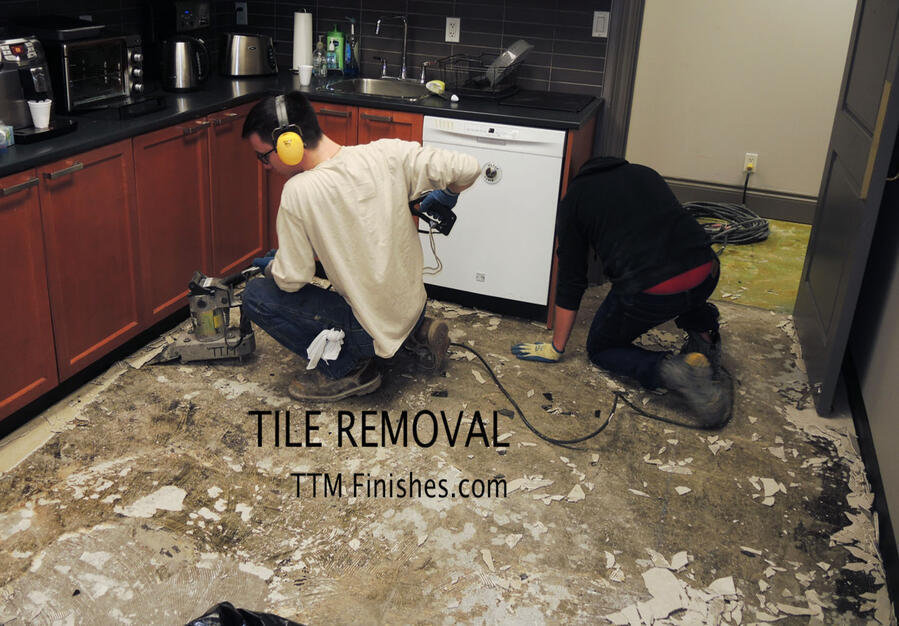
a. Small Area Removal: For residential environments or smaller sections, start by using a chisel and hammer. Begin at the edge of the tile and position the chisel at a 45-degree angle. Tap the chisel gently with the hammer to loosen the tile. Gradually increase the force until the tile breaks free. Repeat this process until all tiles in the targeted area have been removed.
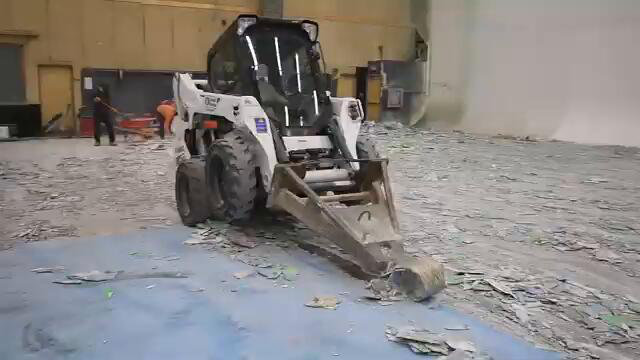
b. Large-Scale Removal: In industrial settings or when dealing with large areas, an electric jackhammer is an efficient option. However, it's important to note that operating an electric jackhammer requires proper training and safety precautions. Start from the edge of the tile and apply gentle pressure to gradually break it apart. Move systematically across the area, working in manageable sections.
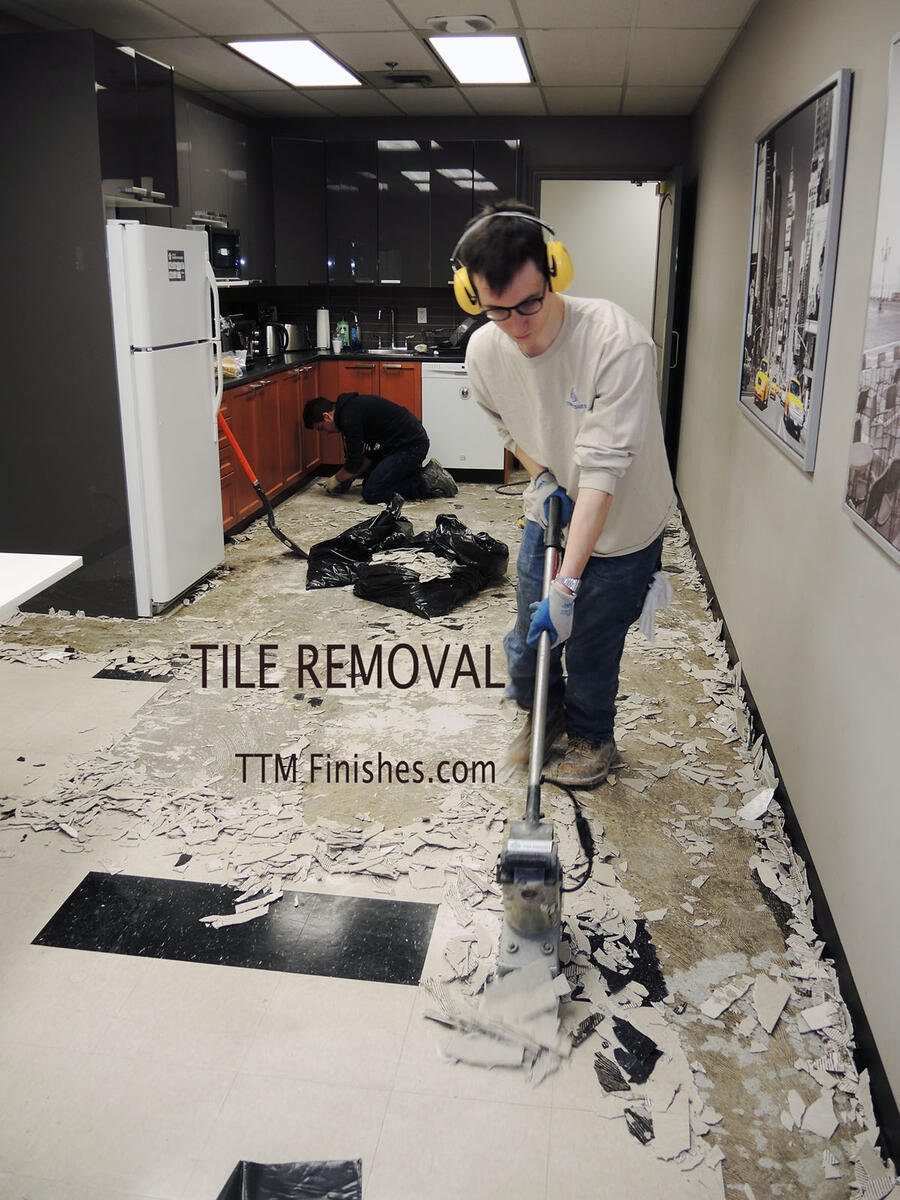
c. Grout Removal: Once the tiles have been removed, you may encounter residual grout or adhesive on the surface. Use a scraper or a grout removal tool to scrape away the grout, taking care not to damage the underlying surface. Removing the grout ensures a clean and even surface for the installation of new tiles or other flooring materials.
Clean-up and Surface Preparation:
After removing the tiles, it's crucial to clean the area thoroughly to remove any dust, debris, or adhesive residue. Vacuuming the area is a good practice to ensure a clean surface for the next steps, whether it be installing new tiles or preparing the surface for another type of flooring. Additionally, inspect the subfloor or surface for any damage or irregularities that may require repair before proceeding with the new flooring installation.Thorough preparation, understanding the tile type, and having the right tools are key to successfully removing tiles without causing unnecessary damage or delays. At the end of the day, the cost of hiring industrial tile removal professionals is generally more than worth it. Not only can they do a better and quicker job, but they also have the necessary insurance cover in place to deal with any unforeseen accidents.
Don't put your project at risk – contact an experienced industrial tile removal contractor today and make sure your project gets off to a strong start. At TTM Finishes Inc., we have many years of experience in removing tile in both residential and commercial/industrial environments. We are an award winning contractor and have been in business for over 20 years.
For More About Our Services or
for a Quote Contact Us Today